

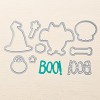
October is just days away now and today's card is perfect for Halloween using the brand new Howl-O-Ween Treat stamp set from Stampin' Up!
This set can also be purchased in a bundle with its coordinating framelit set, Boo to You! Direct links to all of the products used today are below.
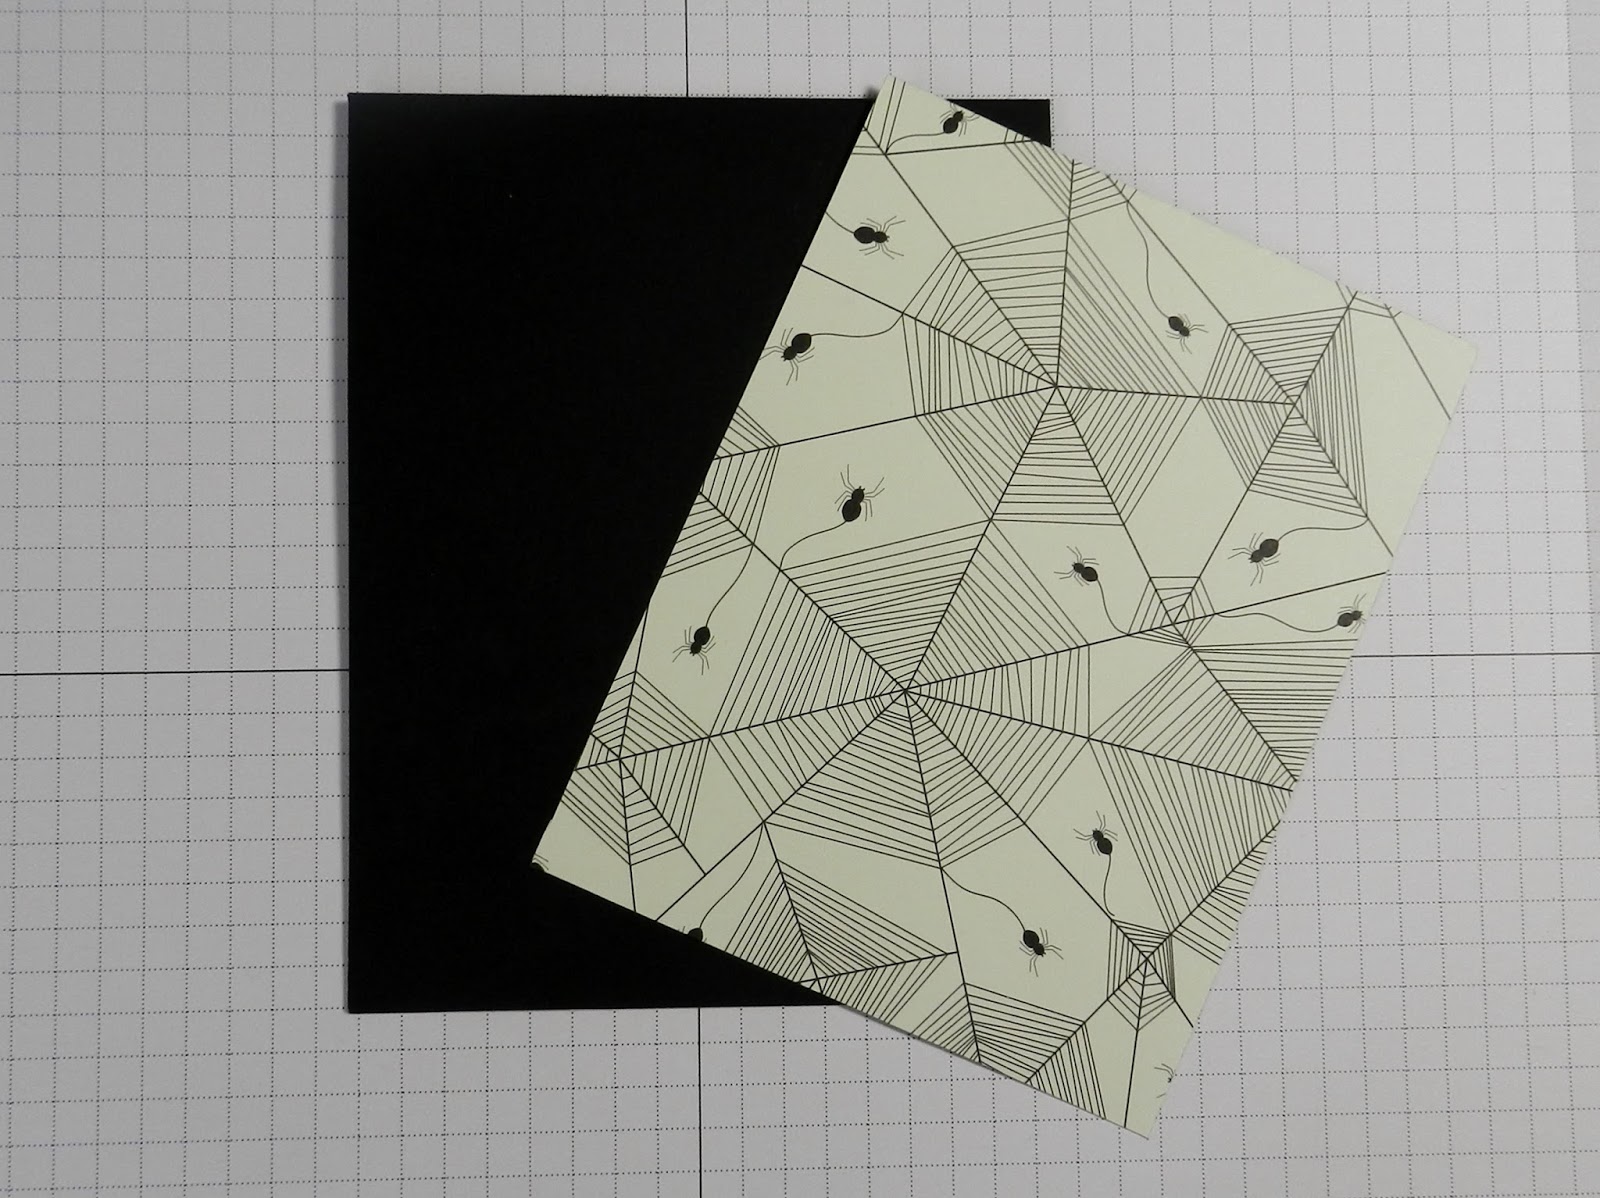
To make today's project you will need to cut; Basic Black 11 X 4 1/4", Happy Haunting DSP 5 1/4 X 4", piece of Dazzling Diamonds Glimmer paper large enough to cut the Boo die from, Large scrap of Basic Black, Scrap of Very Vanilla to stamp images on, Optional Very Vanilla 5 1/4 X 4" for the inside of the card.
So then, let's get to it!
1. Score and fold the Basic Black piece at 5 1/2" to form a standard A2, top-folding card base. Attach the piece of Happy Haunting DSP with Snail adhesive to the card front making sure to center it nicely.

2. Set the card base aside now. Using the Howl-O-Ween Treat stamp set and Memento Tuxedo Black ink, stamp the skull image once and the bone image twice on your scrap of Very Vanilla. Cut the images out using the coordinating Boo to You framelits and the Big Shot machine.


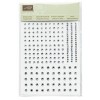
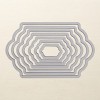
3. Using the 2nd framelit from the outside of the Lots of Labels framelits set, cut a label from basic black cardstock.

4. Using Snail, attach the bones in an X as shown and then mount the skull over top of them using Stampin' Dimensionals.

5. Using Tangello Twist ink and a Stampin' Sponge, daub ink into the piece of Dazzling Diamonds Glimmer paper until the desired color saturation has been achieved. Use the "BOO!" word die from the Boo to You framelits set to cut the now inked Glimmer Paper. (NOTE - the ink will not be dry right away so if time is not allowed for it to dry it will transfer to your cutting plates and die.)


6. Mount the BOO! die cut to the black label below the skull image. To create some low dimension use mini glue dots folding them in half before applying them to the back of the die cut.


7. Apply 2 middle size basic gemstones to the eyes of the skull image.

8. Apply Stampin' Dimensionals to the back of the now completed label piece and center on the front of the card base.

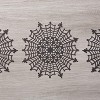
***At the last second I decided to add half of a Spiderweb Doily to the card design. I used a half that I had on hand from one of last week's project and just laid it down with a small strip of Snail adhesive that was covered by the label piece. I like the way it turned out!

9. Apply the 5 1/4 X 4" piece of Very Vanilla to the inside of the card with Snail adhesive.
~And your card is complete!
Happy Stamping!
 |  |  |  |
 |  |  |  |
 |  |  |  |
 |  |  |  |
 |  |  |  |
 |  |
No comments:
Post a Comment