

Today's design is a bit more subdued than the others I've shared this week ~ dare I say it? There may be someone out there that doesn't like glitter?! :)
To make this project you will need to cut the following:
*Crumb Cake: 8 1/2 X 5 1/2", scored at 4 1/4" and folded to make a standard A2 card base. We're going to use it in the landscape orientation.
*Very Vanilla: 5 1/4 X 4"
*Craft Foam cut to fit inside the stitched lines on the back of the Very Vanilla panel.
Stamp Sets Used:
Six Sayings (Hostess Set)
Berry Merry
Let's Get Started!

1. Cut the card stock pieces required and set the card base piece aside.

2. I wanted a stitched edge around my stamped panel and I am piercing tool challenged so I just took it to my sewing machine and stitched around the edges with no thread... semi-instant stitched border!

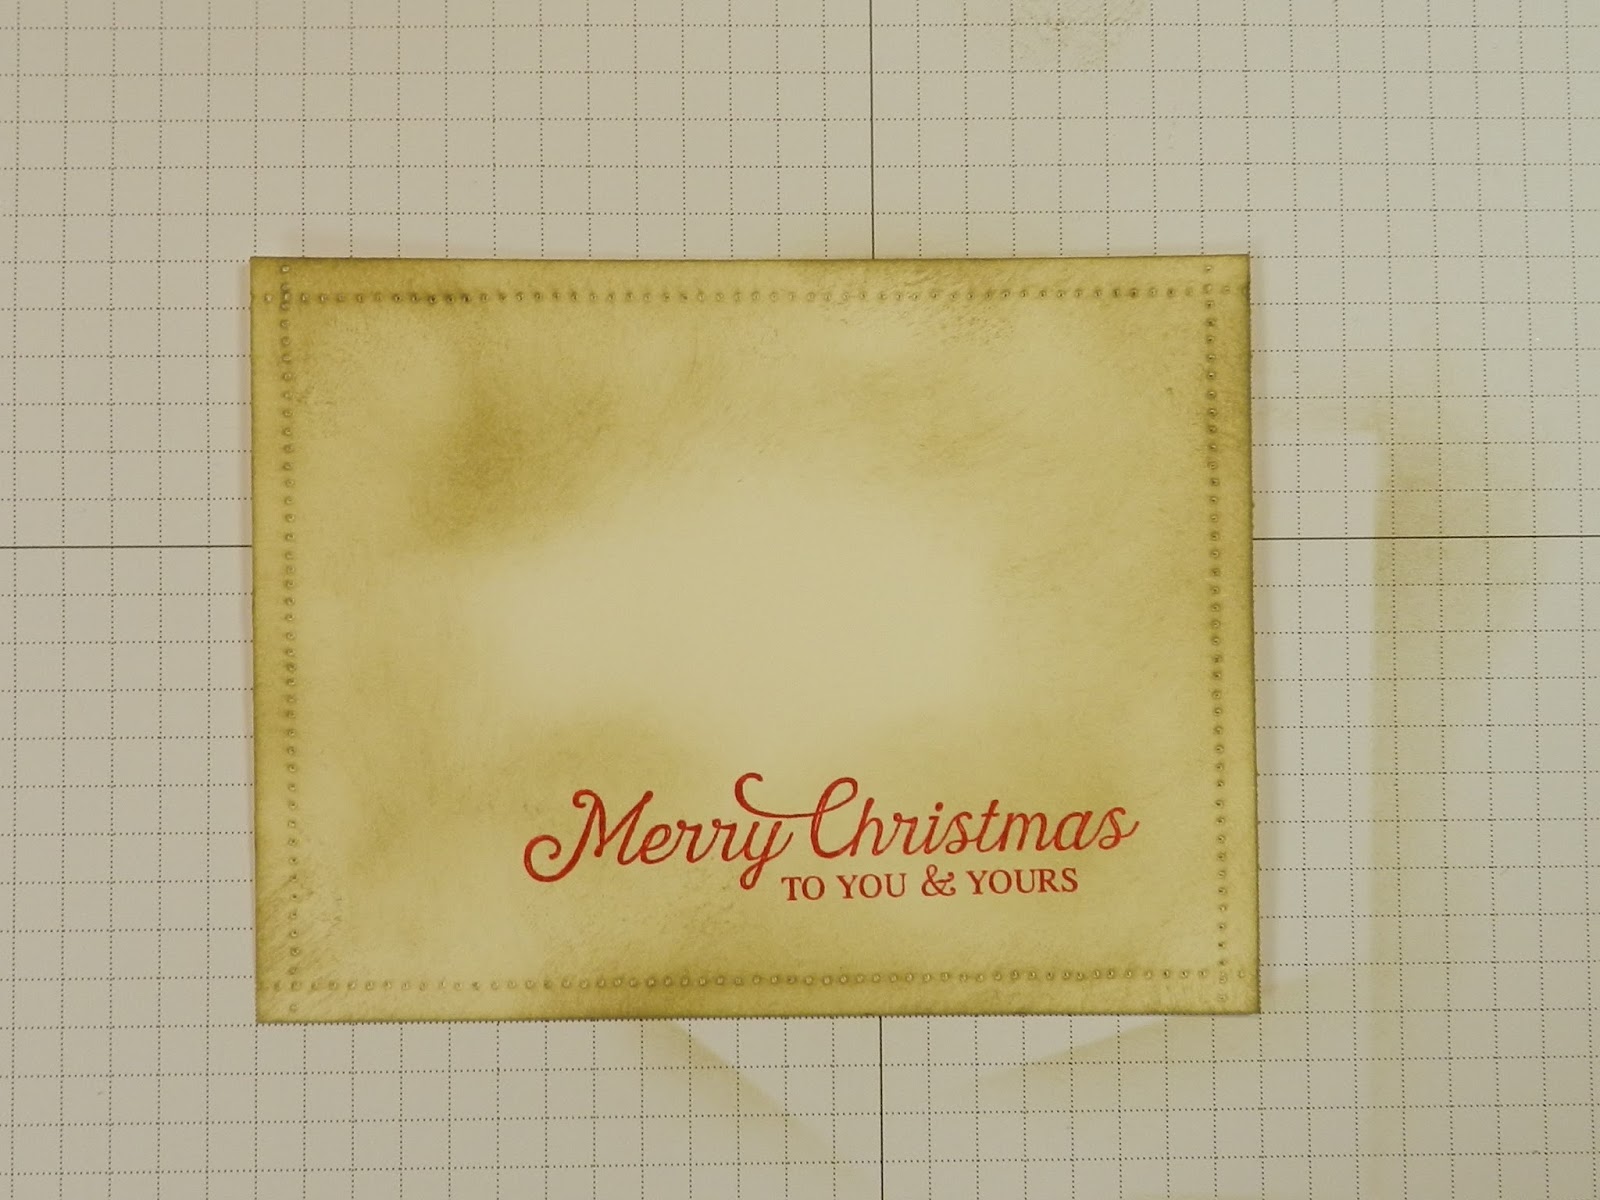
3. Using Crumb cake ink and a Stampin' Sponge, ink around the edges of the Very Vanilla panel as well as the folded card base.


4. Without adding more ink to the sponge, ink further in toward the center of the Very Vanilla panel letting the ink become lighter as you move to the center.


5. Using Real Red ink and the Merry Christmas sentiment stamp from Six Sayings, stamp the sentiment in the lower right hand corner of the panel.

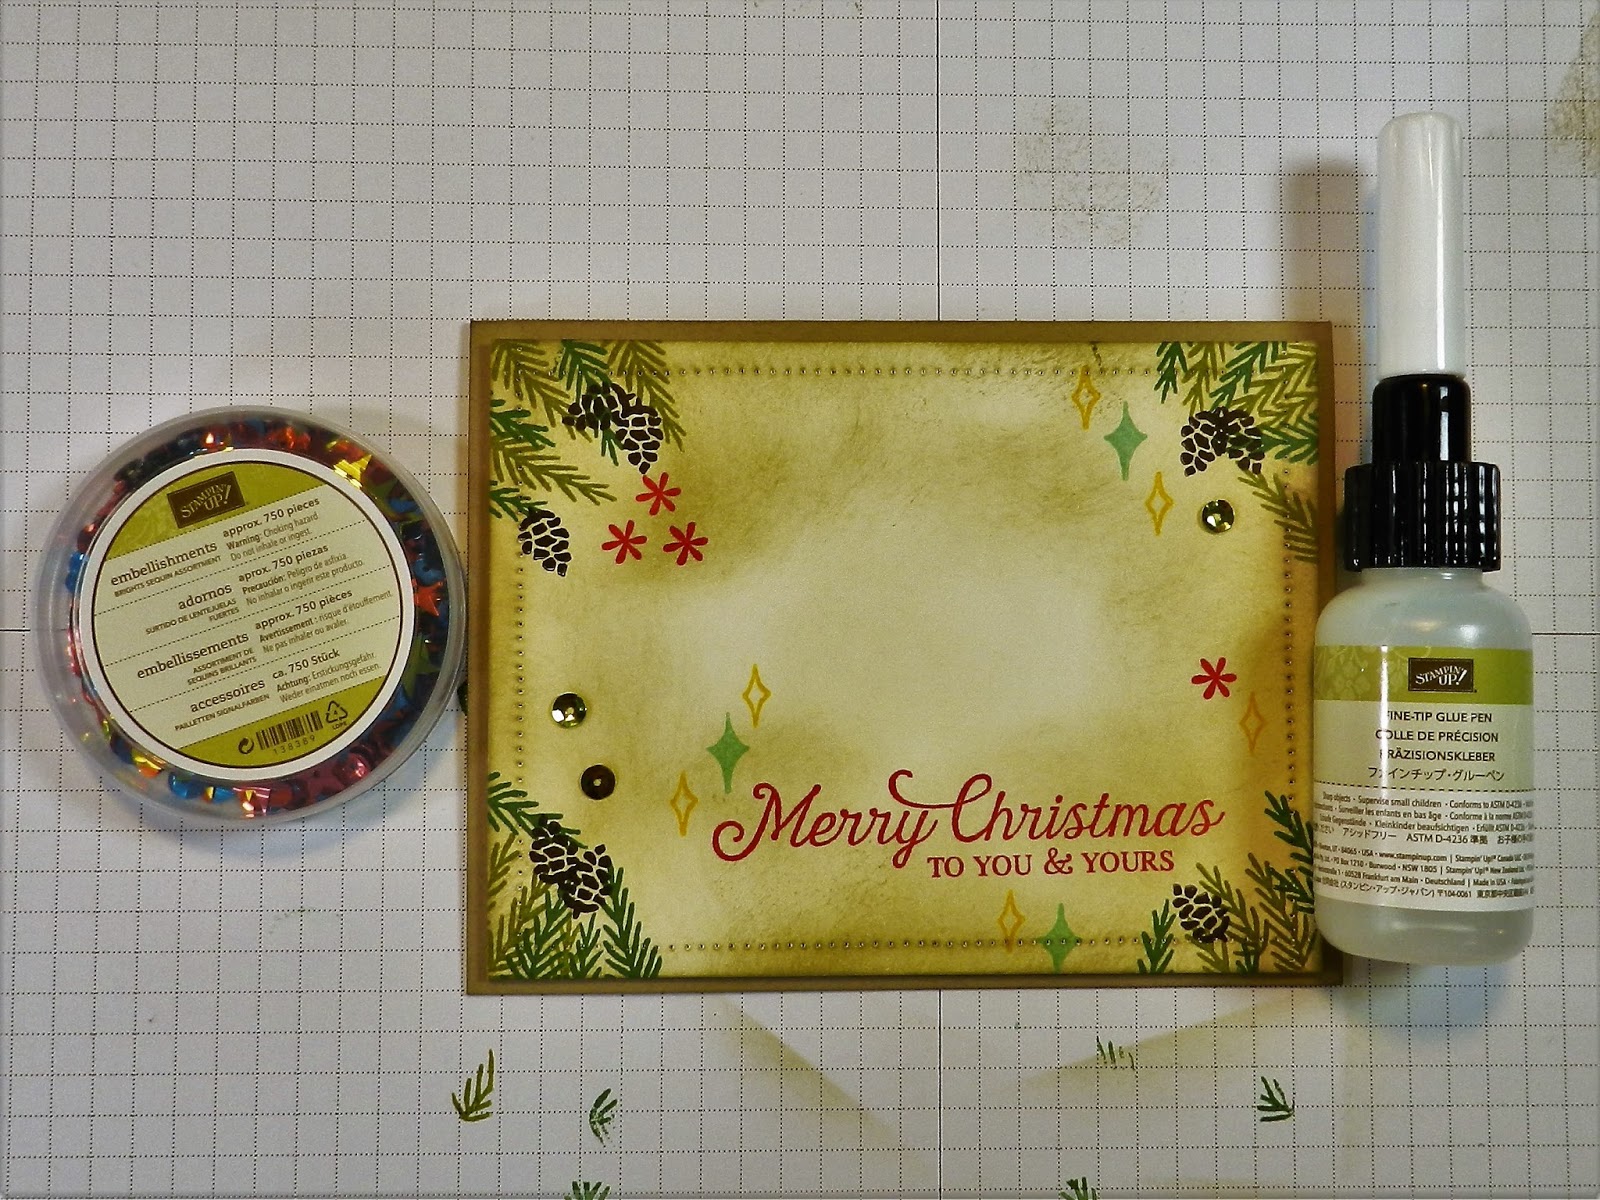
6. Using Old Olive and Garden Green inks stamp the pine branch stamps from Berry Merry in both the small and large sizes in all 4 corners of the Very Vanilla panel.


7. Using Early Espresso ink, add some little pine cones until you're satisfied with the look of them.

8. Just to add some fun, use the small diamond stamps from Berry Merry along with the flower image to stamp in some other colors on the card front. I used Pool Party, Crushed Curry and a little more Real Red in the upper left corner to balance out the sentiment.

9. Apply Fast Fuse to the back of the Very Vanilla panel and place the craft foam. Apply more Fast Fuse to the back of the craft foam and adhere the panel to the card base making sure to center it nicely.


10. With no glitter my Bling-O-Meter was not real happy with this card so I broke out the Brights Sequins and applied just 3 of the green round sequins with tiny dots from the Fine Tip Glue pen.

11. Once the glue is dry, your card is complete... unless you want to add some glitter :)
DOWNLOAD THE PDF --- CHRISTMAS PINE CONE CARD
HAPPY STAMPING!
 |
| Only 5 days to go! |
No comments:
Post a Comment