

I'm here today with another fabulous project for the upcoming holiday season.
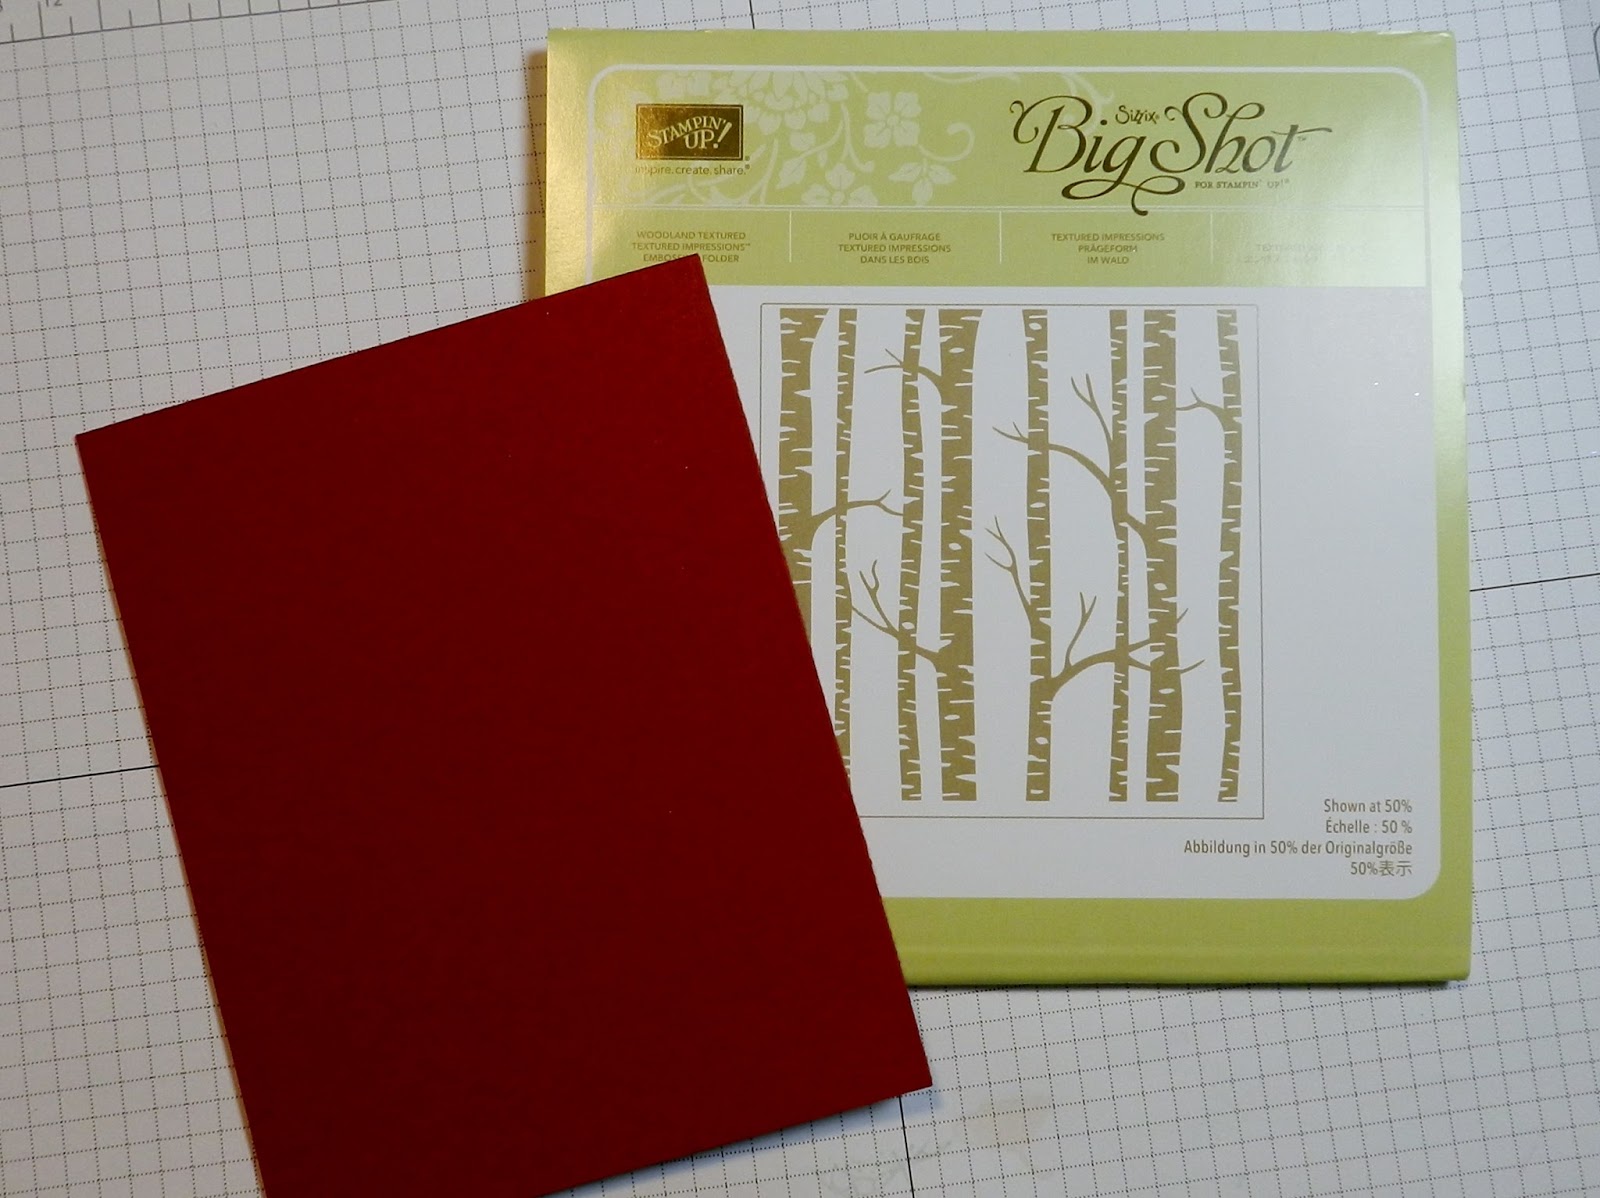
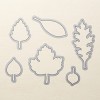
Today's card was created with the Vintage Leaves stamp set from the Stampin' Up! annual catalog along with one of our brand new Textured Impressions Embossing Folders, Woodland, from our current Holiday catalog.
To make this card you will need to cut; Cherry Cobbler 11 x 4 1/4", Crushed Curry 2 X 6" and about a half sheet of Whisper White.
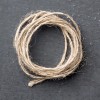
You will also need a button, Linen Thread and Gold Stampin' Emboss powder.
1. Score the piece of Cherry Cobbler at 5 1/2" on the long side and then fold the piece in half to create a standard A2, top-folding card.
2. Place the front of the card into the Woodland embossing folder leaving the backside hanging out. Line the cardstock up so that the top of the image is at your score line and run through the Big Shot to emboss. Set aside.

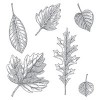
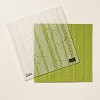
3. Using the large oak leaf image from the Vintage Leaves stamp set, stamp the image randomly along the strip of Crushed Curry cardstock in Crushed Curry ink to create a tone-on-tone background. Set aside.


4. Clean the oak leaf stamp well using the Stampin' Scrub. Using VersaMark ink, stamp the image twice on the piece of Whisper White. Coat the stamped images with Stampin' Emboss powder in Gold and heat until fully melted.


5. Using Crushed Curry and Cherry Cobbler inks along with Stampin' Sponges, color the images randomly as shown below starting with the Crushed Curry.


6. Using the Leaflets Framelits set, cut out the leaves.


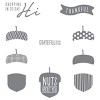
7. To create the sentiment on this card, stamp the Grateful for You stamp from the Acorny Thank You set in Cherry Cobbler on the remaining Whisper White paper. Cut out the stamped image using the Word Window Punch.


8. To assemble the card attach the stamped strip of Crushed Curry to the front of the card base using Snail adhesive. (TIP - Use grid paper to help you line up the strip and keep it straight from top to bottom.) Trim any extra flush with the top and bottom of the card.


9. Again using Snail, attach the leaves to the yellow strip as shown below.


10. Take your chosen button (I haven't purchased any of the Stampin' Up! Buttons yet so I just scavenged one from my sewing supplies) and thread it with Linen Thread. Create a bow on the front. You can do this with a single strand or double it up for a bow with more bulk to it. Attach the button to the stems of the leaves as shown below.


11. Lastly, using Stampin' Dimensionals (I use the "bones" or the pieces along the sides of the sheet) attach the sentiment to the card at the bottom as shown.

12. Optional ~ Cut a piece of Whisper White to 4 X 5 1/4" for the inside of the card. Decorate if desired and attach with Snail.
~And your card is complete!
Happy Stamping!
 |  |  |  |
 |  |  |  |
 |  |  |  |
 |  |  |  |
 |  |  |  |
 |  |  |  |
 |  |  |
No comments:
Post a Comment