Showing posts with label thanksgiving card. Show all posts

Thursday, October 15, 2015

Throwback Thursday Hello Fall Corner Flip Card Tutorial & Video

Oh my goodness! Can you believe it's already Thursday? The weekend is just around the corner and I cannot wait!

Today's card is a fun one! Anyone that has followed me for a while knows that I'm a bit of a nut for unique card folds and interactive designs so when I saw the corner flip card, I had to give it a try!

To make this project you will need to cut;
*Soft Suede: 8 1/2 X 5 1/2" & 2 3/4 X 2 3/4"
*Whisper White: 5 X 3 3/4" & 2 1/2 X 2 1/2" & A scrap for the Sentiment banner
*Designer Series Paper: 5 1/4 X 4" & 2 5/8 X 2 5/8" ~ I used DSP from a pack called Color Me Autumn that is no longer available however Into the Woods would be perfect for this project as well!

Please remember that as this is Throwback Thursday, some of the products used are no longer available.


HAPPY STAMPING!

Built for Free Using: My Stampin Blog


Friday, October 9, 2015

Thanks & Giving Square Card Video Tutorial

Oh my Goodness Friends! It's finally Friday and a 3-day weekend lies just ahead!

Today's card and video features my favorite stamp set this season, Vintage leaves!

I love this set for it's versatility and I've made many, many cards with it since it arrived at my door!


To make today's project you will need to cut:

*Early Espresso: 5 X 10"
*Hello Honey: 4 3/4 X 4 3/4"
*Whisper White: 4 5/8 X 4 5/8"
*Scraps of both Hello Honey and Whisper White


Happy Stamping!

Built for Free Using: My Stampin Blog

Wednesday, October 7, 2015

Autumn Wishes Card Featuring Among the Branches & the Woodland Embossing Folder by Stampin' Up!

Good Wednesday Morning Stampers!

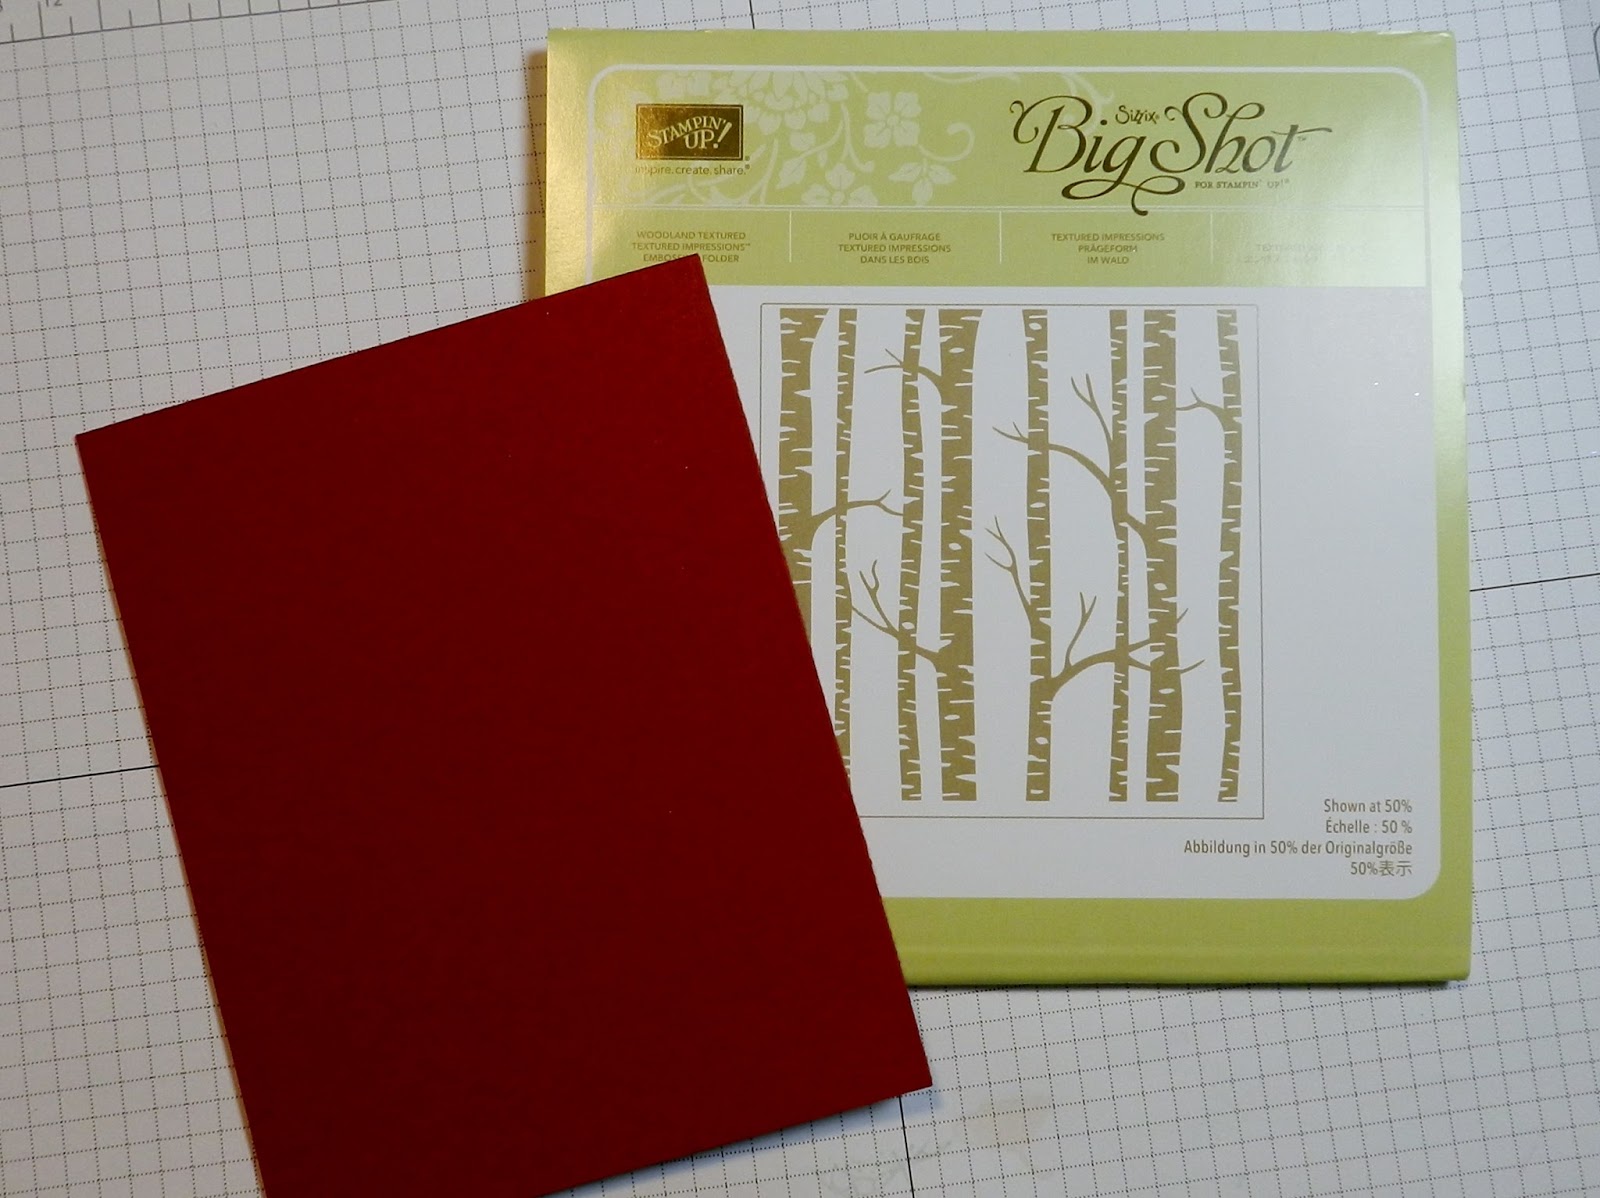
Welcome back to a new day and a new card featuring the Among the Branches stamp set and its Bundle companion, the Woodland Textured Impressions Embossing Folder!

This is another of Stampin' Up's Bundles that will take you from Halloween to Christmas!

Visit my Facebook page for more ideas!

To make this project you will need to cut;

  • Soft Suede: 8 1/2 X 5 1/2"
  • Crumb Cake: 5 1/4 X 4"
  • Cherry Cobbler: 1/2 X 5 1/4"
  • Craft Foam: 5 X 3 3/4"
  • Scrap of Cherry Cobbler for the flower
  • Scrap of Very Vanilla for the 2" Circle Punch
Now, let's get started!

1. Place the piece of Crumb Cake cardstock into the Woodland embossing folder and run through your Big Shot on tab 1. Make sure you pay close attention with this folder and place your paper toward the top of the opening to get it right side up.

2. Once the your piece is embossed stamp the 3 little leaf designs 5 times each onto the Crumb Cake using the ink colors Daffodil Delight, Cherry Cobbler and Soft Suede. Stamping should be random and remember that the bottom right corner will be covered.


3. Place the strip of Cherry Cobbler cardstock into the Honeycomb embossing folder being careful to line it up with a portion of the design so it doesn't look wonky. Really you can use any embossing folder you have to texture this strip... most any of them would look great! Run the embossing folder through your Big Shot.

4. Using Snail, attach the embossed strip in the bottom 1/3 of the card panel as shown below.

5. Using Soft Suede ink stamp the Autumn Wishes image onto your scrap of Very Vanilla. Using your stamp positioner on the first stamp will allow you to stamp again if you don't get good coverage the first time. Just place it around the stamp as shown below and then re-stamp until you get the coverage you're looking for.


6. Using your 2" Circle Punch, line up and cut out the stamped image leaving no border around the edges.


7. Punch one flower from your scrap of Cherry Cobbler cardstock using the flower punch from the Itty Bitty Accent Punch Pack and place a medium size gem in the center.

8. Cut about 6" of Daffodil Delight ribbon and fold over in half. Snip the edges into points or fish tails, whatever you prefer and attach to the back of the punched circle using Snail and/or Glue Dots. Attach the flower to the front of the circle punch using a Mini Glue Dot.


9. To assemble the card, lay down some Fast Fuse on teh back of the Crumb Cake piece and attach the craft foam so that it can't be seen from the front of the piece.

10. Lay down more Fast Fuse on the back of the craft foam and attach the front panel to the card base making sure to center it nicely.


11. Using Dimensionals on the back of the punched circle, attach it to the card front making sure the ribbon lines up with the Cherry Cobbler strip as shown below.


~And your card is completed!

Happy Stamping!

Built for Free Using: My Stampin Blog

Friday, September 25, 2015

Grateful for You Card Featuring the Vintage Leaves Stamp Set

It's finally Friday and just about time for the weekend ~ Yahoo!

I'm here today with another fabulous project for the upcoming holiday season.

Today's card was created with the Vintage Leaves stamp set from the Stampin' Up! annual catalog along with one of our brand new Textured Impressions Embossing Folders, Woodland, from our current Holiday catalog.

To make this card you will need to cut; Cherry Cobbler 11 x 4 1/4", Crushed Curry 2 X 6" and about a half sheet of Whisper White.

You will also need a button, Linen Thread and Gold Stampin' Emboss powder.

1. Score the piece of Cherry Cobbler at 5 1/2" on the long side and then fold the piece in half to create a standard A2, top-folding card.

2. Place the front of the card into the Woodland embossing folder leaving the backside hanging out. Line the cardstock up so that the top of the image is at your score line and run through the Big Shot to emboss. Set aside.


3. Using the large oak leaf image from the Vintage Leaves stamp set, stamp the image randomly along the strip of Crushed Curry cardstock in Crushed Curry ink to create a tone-on-tone background. Set aside.


4. Clean the oak leaf stamp well using the Stampin' Scrub. Using VersaMark ink, stamp the image twice on the piece of Whisper White. Coat the stamped images with Stampin' Emboss powder in Gold and heat until fully melted.


5. Using Crushed Curry and Cherry Cobbler inks along with Stampin' Sponges, color the images randomly as shown below starting with the Crushed Curry.


6. Using the Leaflets Framelits set, cut out the leaves.


7. To create the sentiment on this card, stamp the Grateful for You stamp from the Acorny Thank You set in Cherry Cobbler on the remaining Whisper White paper. Cut out the stamped image using the Word Window Punch.


8. To assemble the card attach the stamped strip of Crushed Curry to the front of the card base using Snail adhesive. (TIP - Use grid paper to help you line up the strip and keep it straight from top to bottom.) Trim any extra flush with the top and bottom of the card.


9. Again using Snail, attach the leaves to the yellow strip as shown below.


10. Take your chosen button (I haven't purchased any of the Stampin' Up! Buttons yet so I just scavenged one from my sewing supplies) and thread it with Linen Thread. Create a bow on the front. You can do this with a single strand or double it up for a bow with more bulk to it. Attach the button to the stems of the leaves as shown below.


11. Lastly, using Stampin' Dimensionals (I use the "bones" or the pieces along the sides of the sheet) attach the sentiment to the card at the bottom as shown.

12. Optional ~ Cut a piece of Whisper White to 4 X 5 1/4" for the inside of the card. Decorate if desired and attach with Snail.

~And your card is complete!

Happy Stamping!