With the Occasions Catalog live and available as of today, you can scoop up the Beetles & Bugs stamp set to make these fabulous little note cards for your friends or even your children's classmates! They're bugs so you know the boys will love them and just cute enough for the girls too!
Showing posts with label handmade card. Show all posts
Wednesday, January 4, 2017
Love Bug Valentine & Video
It's never too early to get a jump on making your cards for the holidays to come... no, not Christmas but Valentine's Day is right around the corner!
With the Occasions Catalog live and available as of today, you can scoop up the Beetles & Bugs stamp set to make these fabulous little note cards for your friends or even your children's classmates! They're bugs so you know the boys will love them and just cute enough for the girls too!
Monday, October 19, 2015
Among The Trees Spooky Card & The Stampin' Up! 15% Off Stamp Sale!
Good Monday Morning my Stampin' Friends! It's a good morning for a couple of reasons today...
First, I have a new card for you... and Second....
STAMPIN' UP! STAMP SETS ARE ALL 15% OFF THIS WEEK!
October 19th through the 23rd, all stamp sets are 15% off!
Click the Shop Now button above or to the right and claim those sets you've had your eye on!
For today's project, you'll need to cut the following pieces of cardstock;
First, I have a new card for you... and Second....
STAMPIN' UP! STAMP SETS ARE ALL 15% OFF THIS WEEK!
October 19th through the 23rd, all stamp sets are 15% off!
Click the Shop Now button above or to the right and claim those sets you've had your eye on!
For today's project, you'll need to cut the following pieces of cardstock;
- Basic Black: 8 1/2 X 5 1/2"
- Tangelo Twist: 5 1/4 X 4", 3 1/2" Circle, 2 1/2" Circle
- Very Vanilla: 5 1/8 X 3 7/8", Scrap for stamping and cutting 2" Circle
- Happy Haunting DSP: 3" Cirlce
- Black Glimmer Paper: 7/8 X 5 1/4"
1. Cut a card base of Basic Black at 8 1/2 X 5 1/2" and fold in half to create a top-folding, landscape card base.
2. Cut a layer of Tangelo Twist to 5 1/4 X 4".
3. Cut a layer of Very Vanilla to 5 1/8 X 3 7/8", texture this piece with the Decorative Dots TIEF and attach to the
Tangelo Twist layer centered and leaving a small border around all edges.
4. Cut a strip of Black Glimmer Paper to 7/8 X 5 1/4", layer over the Very Vanilla/ Tangelo Twist panel at the center.
5. Cut one 3 1/2" circle and one 2 1/2" circle of Tangelo Twist.
6. Cut one 3" circle from the Ghosts sheet of the Happy Haunting DSP pack.
7. On a scrap of Very Vanilla stamp the Spooky Circle in Archival Black Ink and punch out with a 2" Circle punch.
8. Attach the Tangelo Twist/Very Vanilla panel to the card base being generous with adhesive.
9. Place the 2 Tangelo Twist circles on the front of the card. The small circle should overlap the larger circle as
shown in the picture above and adhere to the base.
10. Adhere the DSP circle over the larger Tangelo Twist circle allowing it to cover the overlapped portion of the
small circle as well.
11. Using Dimensionals, adhere the stamped "Spooky" piece over the small Tangelo Twist circle and overlapping
the DSP.
12. Finally, add two of the smallest Basic Rhinestones to the eyes.
CLICK HERE TO PRINT ~ AMONG THE TREES SPOOKY CARD TUTORIAL
HAPPY STAMPING!
Friday, September 25, 2015
Grateful for You Card Featuring the Vintage Leaves Stamp Set
It's finally Friday and just about time for the weekend ~ Yahoo!
I'm here today with another fabulous project for the upcoming holiday season.
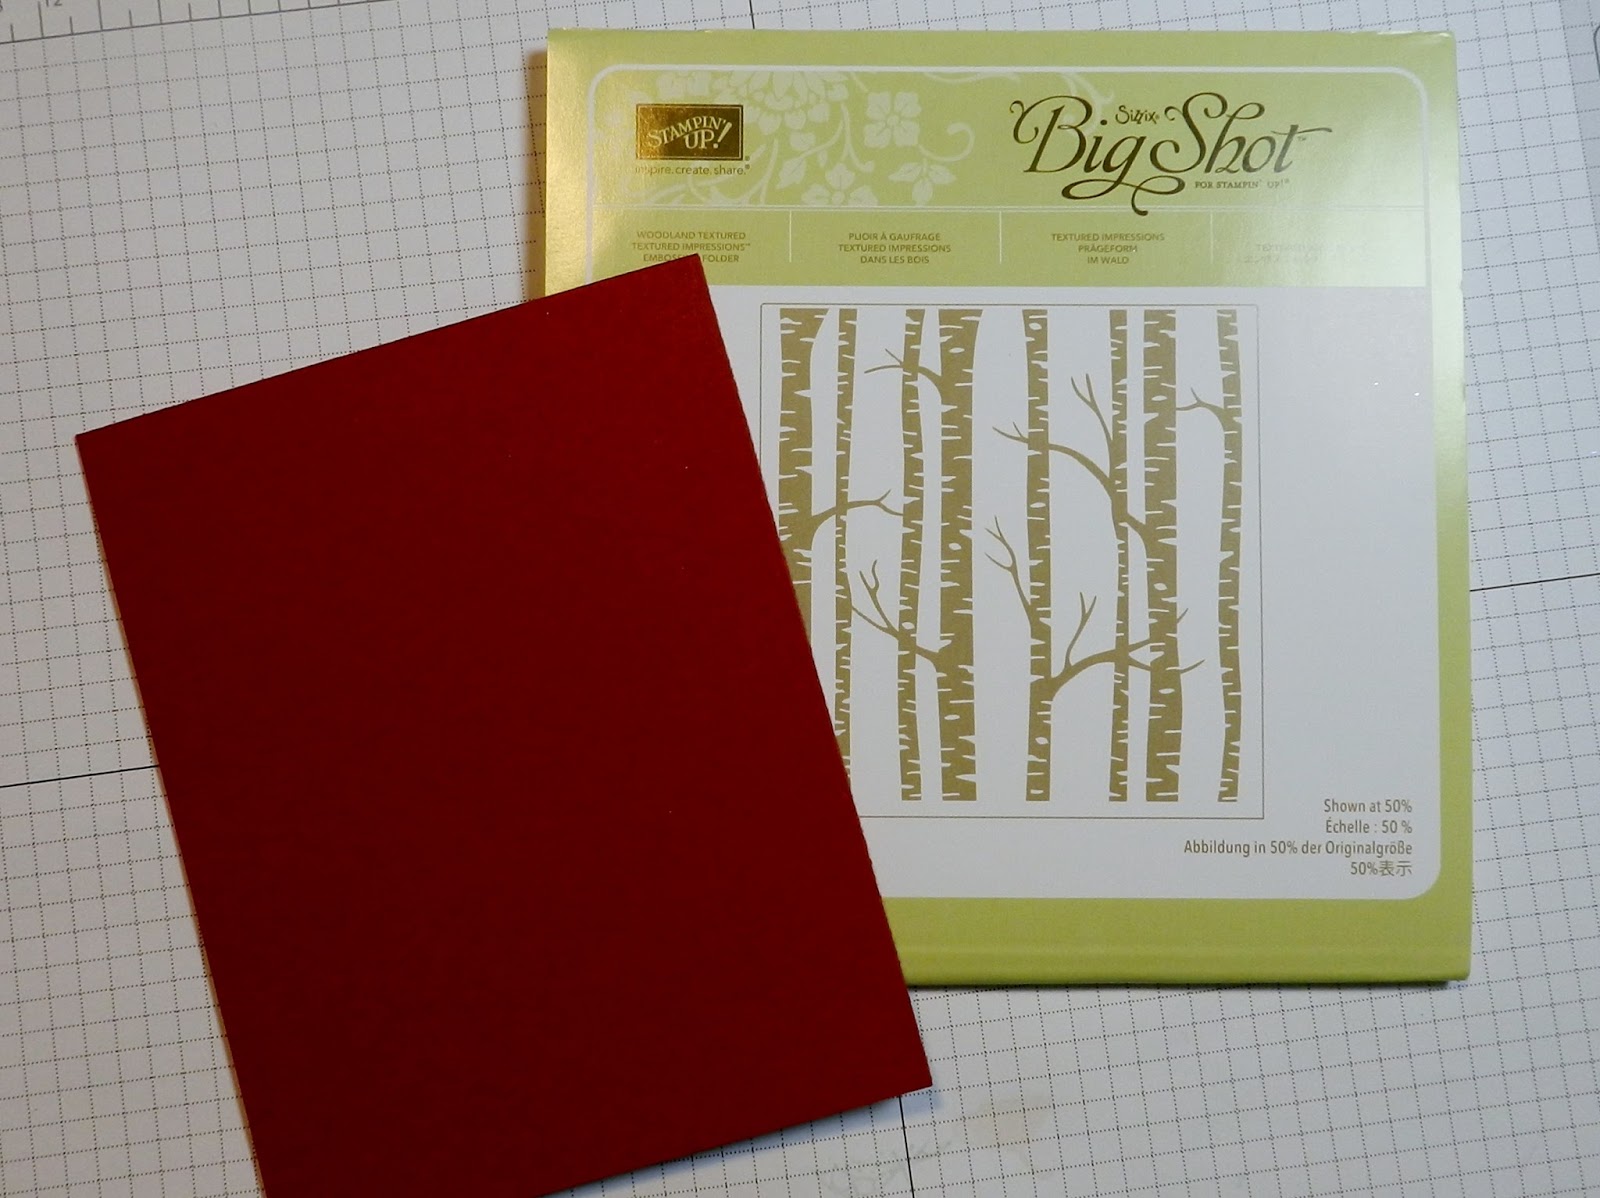
Today's card was created with the Vintage Leaves stamp set from the Stampin' Up! annual catalog along with one of our brand new Textured Impressions Embossing Folders, Woodland, from our current Holiday catalog.
To make this card you will need to cut; Cherry Cobbler 11 x 4 1/4", Crushed Curry 2 X 6" and about a half sheet of Whisper White.
You will also need a button, Linen Thread and Gold Stampin' Emboss powder.
1. Score the piece of Cherry Cobbler at 5 1/2" on the long side and then fold the piece in half to create a standard A2, top-folding card.
2. Place the front of the card into the Woodland embossing folder leaving the backside hanging out. Line the cardstock up so that the top of the image is at your score line and run through the Big Shot to emboss. Set aside.
I'm here today with another fabulous project for the upcoming holiday season.
Today's card was created with the Vintage Leaves stamp set from the Stampin' Up! annual catalog along with one of our brand new Textured Impressions Embossing Folders, Woodland, from our current Holiday catalog.
To make this card you will need to cut; Cherry Cobbler 11 x 4 1/4", Crushed Curry 2 X 6" and about a half sheet of Whisper White.
You will also need a button, Linen Thread and Gold Stampin' Emboss powder.
1. Score the piece of Cherry Cobbler at 5 1/2" on the long side and then fold the piece in half to create a standard A2, top-folding card.
2. Place the front of the card into the Woodland embossing folder leaving the backside hanging out. Line the cardstock up so that the top of the image is at your score line and run through the Big Shot to emboss. Set aside.
3. Using the large oak leaf image from the Vintage Leaves stamp set, stamp the image randomly along the strip of Crushed Curry cardstock in Crushed Curry ink to create a tone-on-tone background. Set aside.
4. Clean the oak leaf stamp well using the Stampin' Scrub. Using VersaMark ink, stamp the image twice on the piece of Whisper White. Coat the stamped images with Stampin' Emboss powder in Gold and heat until fully melted.
5. Using Crushed Curry and Cherry Cobbler inks along with Stampin' Sponges, color the images randomly as shown below starting with the Crushed Curry.
6. Using the Leaflets Framelits set, cut out the leaves.
7. To create the sentiment on this card, stamp the Grateful for You stamp from the Acorny Thank You set in Cherry Cobbler on the remaining Whisper White paper. Cut out the stamped image using the Word Window Punch.
8. To assemble the card attach the stamped strip of Crushed Curry to the front of the card base using Snail adhesive. (TIP - Use grid paper to help you line up the strip and keep it straight from top to bottom.) Trim any extra flush with the top and bottom of the card.
9. Again using Snail, attach the leaves to the yellow strip as shown below.
10. Take your chosen button (I haven't purchased any of the Stampin' Up! Buttons yet so I just scavenged one from my sewing supplies) and thread it with Linen Thread. Create a bow on the front. You can do this with a single strand or double it up for a bow with more bulk to it. Attach the button to the stems of the leaves as shown below.
11. Lastly, using Stampin' Dimensionals (I use the "bones" or the pieces along the sides of the sheet) attach the sentiment to the card at the bottom as shown.
12. Optional ~ Cut a piece of Whisper White to 4 X 5 1/4" for the inside of the card. Decorate if desired and attach with Snail.
~And your card is complete!
Happy Stamping!
Labels:
Card Making,
Craft Supplies,
Die Cutting,
Embossing,
handmade card,
shopping,
Stampin' Up!,
Stamping,
thanksgiving card,
Tutorial,
Vintage Leaves Stamp Set,
Woodland Embossing Folder
Location:
Cheyenne, WY, USA
Subscribe to:
Posts (Atom)