Showing posts with label Online Store. Show all posts
Wednesday, November 4, 2015
An Exciting Announcement Video today!
Not long ago I made the decision to become an Artist for South Hill Designs. This is a home party company a lot like Stampin' Up! but instead of crafting goodies, South Hill is about the bling!
Tuesday, November 3, 2015
Sunday, November 1, 2015
Modern Noel Christmas Card & Video Tutorial
Happy Sunday Everyone! Can you believe it's already November?!
The trick-or-treaters came fast and thick last night! We went through a ton of candy but of course, I over-bought so there's a bunch left which makes all of my big kids around here pretty happy!
Now though, we are officially entering the holiday season... Halloween is over... it's on to Thanksgiving and Christmas!
Today's card has a distinctly modern feel and uses a not so traditional color palette... I love the way it turned out!
To make this project you will need to cut:
*Smoky Slate: 8 1/2 X 5 1/2" scored at 4 1/4" plus another piece cut to 1 3/4 X 4 1/2
*Real Red: 4 1/8 X 5 3/8" plus another piece cut to 2 3/4 X 2"
*Merry Moments DSP: 4 X 5 1/4"
*Whisper White: Scrap for stamping and punching the sentiment piece
And now on to the video!
The trick-or-treaters came fast and thick last night! We went through a ton of candy but of course, I over-bought so there's a bunch left which makes all of my big kids around here pretty happy!
Now though, we are officially entering the holiday season... Halloween is over... it's on to Thanksgiving and Christmas!
Today's card has a distinctly modern feel and uses a not so traditional color palette... I love the way it turned out!
To make this project you will need to cut:
*Smoky Slate: 8 1/2 X 5 1/2" scored at 4 1/4" plus another piece cut to 1 3/4 X 4 1/2
*Real Red: 4 1/8 X 5 3/8" plus another piece cut to 2 3/4 X 2"
*Merry Moments DSP: 4 X 5 1/4"
*Whisper White: Scrap for stamping and punching the sentiment piece
And now on to the video!
HAPPY STAMPING!
![]() |
| Starts tomorrow! |
Labels:
Antique Tags,
Card Making,
Christmas Card,
Giveaway,
Handmade Cards,
Label Bracket Punch,
Online Store,
Paper Crafting,
shopping,
Stampin' Up!,
Stampin' Up! Holiday Catalog,
Stamping
Location:
Cheyenne, WY, USA
Monday, October 19, 2015
Among The Trees Spooky Card & The Stampin' Up! 15% Off Stamp Sale!
Good Monday Morning my Stampin' Friends! It's a good morning for a couple of reasons today...
First, I have a new card for you... and Second....
STAMPIN' UP! STAMP SETS ARE ALL 15% OFF THIS WEEK!
October 19th through the 23rd, all stamp sets are 15% off!
Click the Shop Now button above or to the right and claim those sets you've had your eye on!
For today's project, you'll need to cut the following pieces of cardstock;
First, I have a new card for you... and Second....
STAMPIN' UP! STAMP SETS ARE ALL 15% OFF THIS WEEK!
October 19th through the 23rd, all stamp sets are 15% off!
Click the Shop Now button above or to the right and claim those sets you've had your eye on!
For today's project, you'll need to cut the following pieces of cardstock;
- Basic Black: 8 1/2 X 5 1/2"
- Tangelo Twist: 5 1/4 X 4", 3 1/2" Circle, 2 1/2" Circle
- Very Vanilla: 5 1/8 X 3 7/8", Scrap for stamping and cutting 2" Circle
- Happy Haunting DSP: 3" Cirlce
- Black Glimmer Paper: 7/8 X 5 1/4"
1. Cut a card base of Basic Black at 8 1/2 X 5 1/2" and fold in half to create a top-folding, landscape card base.
2. Cut a layer of Tangelo Twist to 5 1/4 X 4".
3. Cut a layer of Very Vanilla to 5 1/8 X 3 7/8", texture this piece with the Decorative Dots TIEF and attach to the
Tangelo Twist layer centered and leaving a small border around all edges.
4. Cut a strip of Black Glimmer Paper to 7/8 X 5 1/4", layer over the Very Vanilla/ Tangelo Twist panel at the center.
5. Cut one 3 1/2" circle and one 2 1/2" circle of Tangelo Twist.
6. Cut one 3" circle from the Ghosts sheet of the Happy Haunting DSP pack.
7. On a scrap of Very Vanilla stamp the Spooky Circle in Archival Black Ink and punch out with a 2" Circle punch.
8. Attach the Tangelo Twist/Very Vanilla panel to the card base being generous with adhesive.
9. Place the 2 Tangelo Twist circles on the front of the card. The small circle should overlap the larger circle as
shown in the picture above and adhere to the base.
10. Adhere the DSP circle over the larger Tangelo Twist circle allowing it to cover the overlapped portion of the
small circle as well.
11. Using Dimensionals, adhere the stamped "Spooky" piece over the small Tangelo Twist circle and overlapping
the DSP.
12. Finally, add two of the smallest Basic Rhinestones to the eyes.
CLICK HERE TO PRINT ~ AMONG THE TREES SPOOKY CARD TUTORIAL
HAPPY STAMPING!
Tuesday, September 29, 2015
Skull & Boo! Card Featuring Howl-O-Ween Treat Stamp Set
Good Tuesday Morning Friends & Stampers!
October is just days away now and today's card is perfect for Halloween using the brand new Howl-O-Ween Treat stamp set from Stampin' Up!
This set can also be purchased in a bundle with its coordinating framelit set, Boo to You! Direct links to all of the products used today are below.
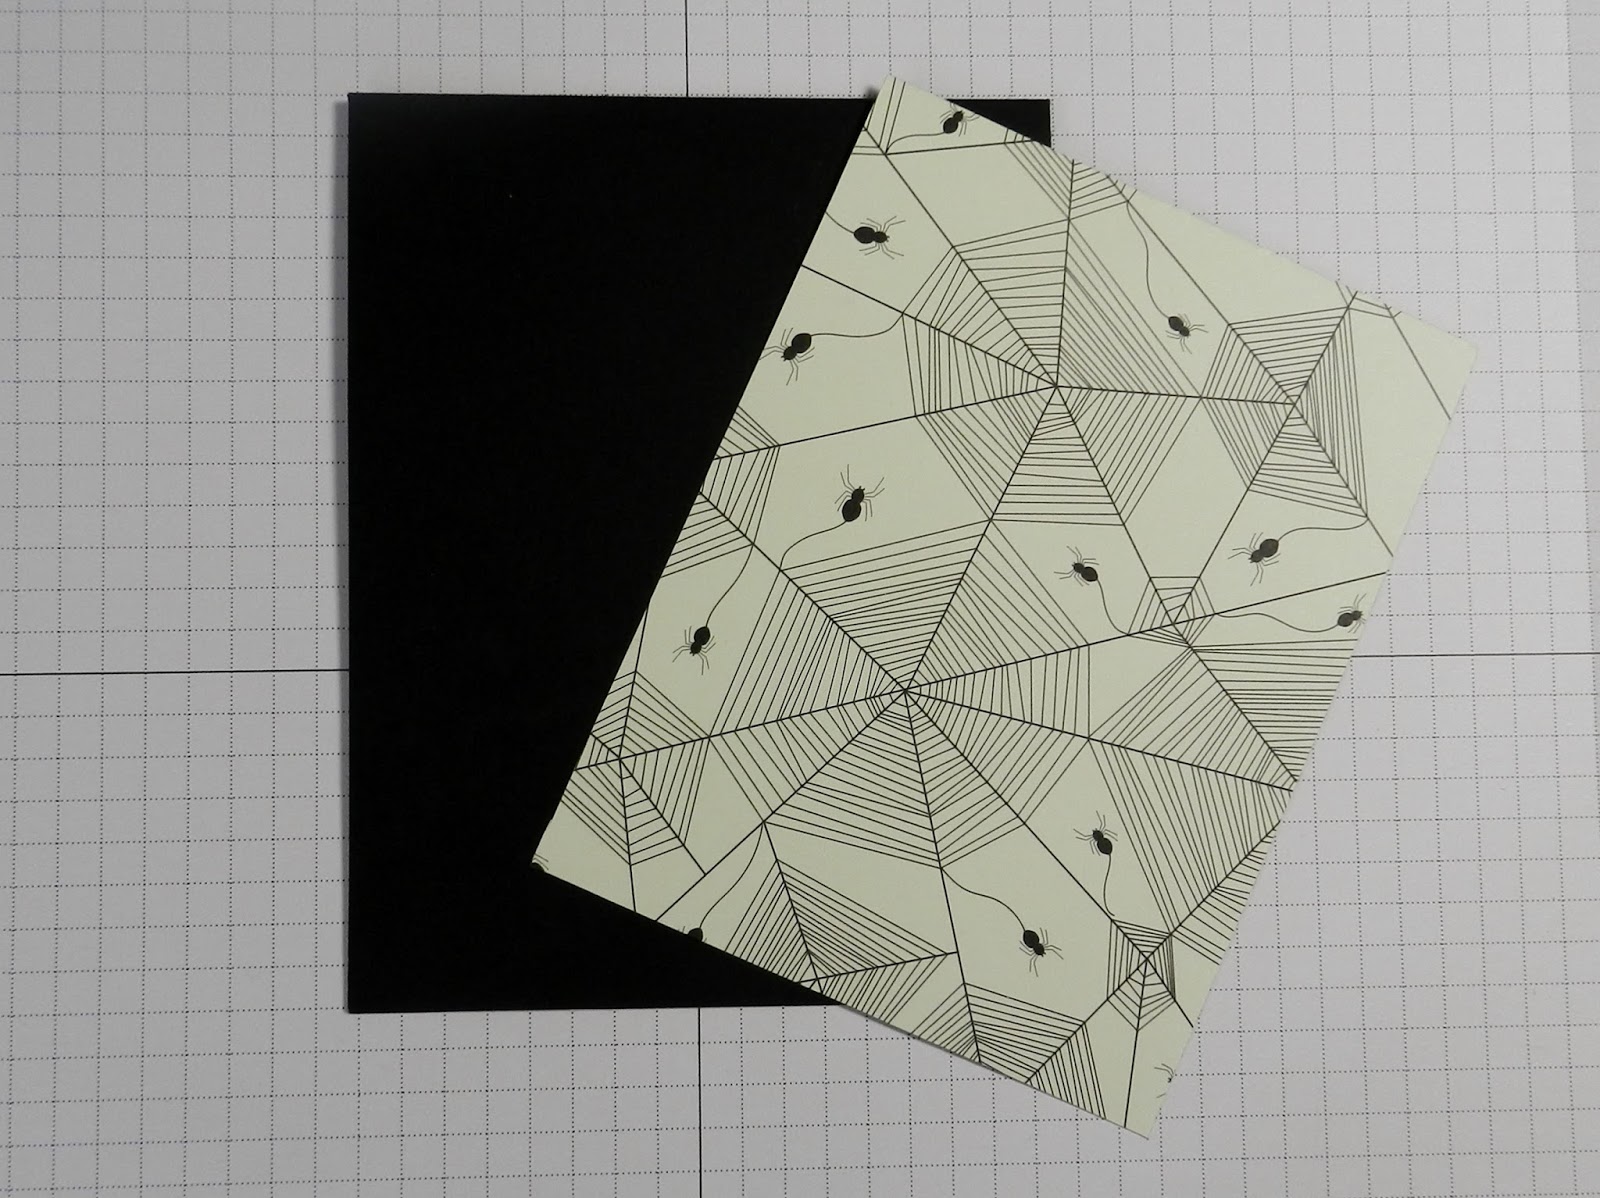
To make today's project you will need to cut; Basic Black 11 X 4 1/4", Happy Haunting DSP 5 1/4 X 4", piece of Dazzling Diamonds Glimmer paper large enough to cut the Boo die from, Large scrap of Basic Black, Scrap of Very Vanilla to stamp images on, Optional Very Vanilla 5 1/4 X 4" for the inside of the card.
So then, let's get to it!
1. Score and fold the Basic Black piece at 5 1/2" to form a standard A2, top-folding card base. Attach the piece of Happy Haunting DSP with Snail adhesive to the card front making sure to center it nicely.
2. Set the card base aside now. Using the Howl-O-Ween Treat stamp set and Memento Tuxedo Black ink, stamp the skull image once and the bone image twice on your scrap of Very Vanilla. Cut the images out using the coordinating Boo to You framelits and the Big Shot machine.
3. Using the 2nd framelit from the outside of the Lots of Labels framelits set, cut a label from basic black cardstock.
4. Using Snail, attach the bones in an X as shown and then mount the skull over top of them using Stampin' Dimensionals.
5. Using Tangello Twist ink and a Stampin' Sponge, daub ink into the piece of Dazzling Diamonds Glimmer paper until the desired color saturation has been achieved. Use the "BOO!" word die from the Boo to You framelits set to cut the now inked Glimmer Paper. (NOTE - the ink will not be dry right away so if time is not allowed for it to dry it will transfer to your cutting plates and die.)
6. Mount the BOO! die cut to the black label below the skull image. To create some low dimension use mini glue dots folding them in half before applying them to the back of the die cut.
7. Apply 2 middle size basic gemstones to the eyes of the skull image.
8. Apply Stampin' Dimensionals to the back of the now completed label piece and center on the front of the card base.
***At the last second I decided to add half of a Spiderweb Doily to the card design. I used a half that I had on hand from one of last week's project and just laid it down with a small strip of Snail adhesive that was covered by the label piece. I like the way it turned out!
9. Apply the 5 1/4 X 4" piece of Very Vanilla to the inside of the card with Snail adhesive.
~And your card is complete!
Happy Stamping!
Labels:
Card Making,
Craft Supplies,
Crafting,
Die Cutting,
Halloween Card,
Handmade Cards,
Howl-O-Ween Stamp Set,
inking technique,
Online Store,
Paper Crafting,
Stampin' Up!,
Stampin' Up! Holiday Catalog,
Tutorial
Location:
Cheyenne, WY, USA
Saturday, September 26, 2015
Sparkling Christmas Card Video Featuring the New Flurry of Wishes Stamp Set
Keeping that in mind, today's video is a bit long but no worries... relax and join me as I work my way through this rather involved card!
To make this project you will need to cut Pool Party 8 1/2 X 5 1/2", Soft Sky 5 1/4 X 4", Whisper White 5 X 3 3/4", Optional Whisper White for the inside of the card cut to 5 1/4 X 4".
There are quite a few Stampin' Up! products featured in this card and I have linked them below for easy access in case you're missing an ingredient or two!
I usually write out directions for each of my cards here however this one, as I said, is quite involved and I believe the video will help you more in its creation than a mile-long blog post :)
Happy Stamping!
Labels:
Card Making,
Craft Supplies,
Crafting,
Embossing,
Flurry of Wishes Stamp Set,
Handmade Cards,
Online Store,
Paper Crafting,
Paper Punches,
Stampin' Up!,
Stampin' Up! Holiday Catalog,
Video
Location:
Cheyenne, WY, USA
Subscribe to:
Posts (Atom)